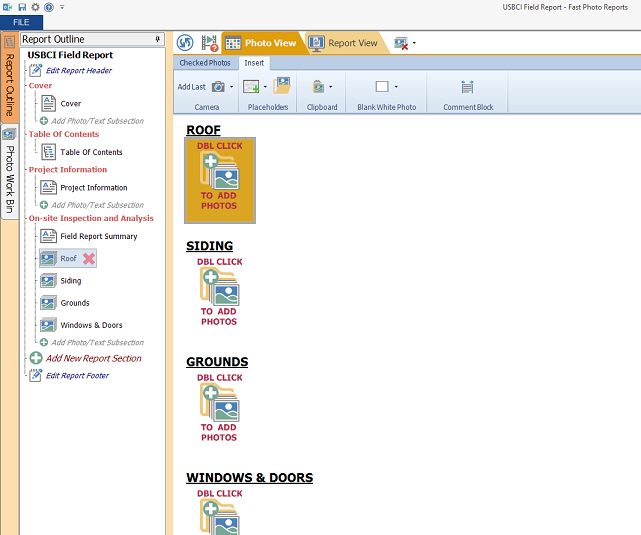
For every photo subsection you add to your report there will also be a section in the Photo View tab as shown below:
The simplest way to add photos to your report is to double click on the add photos icon in the desired photo section. Browse and select the desired photos and then click 'Open'. The photos will be added to that photo section. Once photos have been added they can be rearranged by simply clicking and dragging them to the desired location. Click on a photo to add annotations, drawings and comments using the editors on the right side of the main screen.
ADDING PHOTOS USING THE PHOTO BIN
There are many times with more complex reports that you may need more flexibility with regards to adding Photos. The Photo Work Bin is located along the left edge of the main screen and can serve as a 'temporary holding bin' for photos. You can add photos to the holding bin and then add them into your report as needed along the way. Used photos are marked with a check so you can keep track of which photos have been used. You can also click to select many photos in any order desired, and they will be added in the order clicked.


 in the desired photo section. Browse and select the desired photos and then click 'Open'. The photos will be added to that photo section. Once photos have been added they can be rearranged by simply clicking and dragging them to the desired location. Click on a photo to add annotations, drawings and comments using the editors on the right side of the main screen.