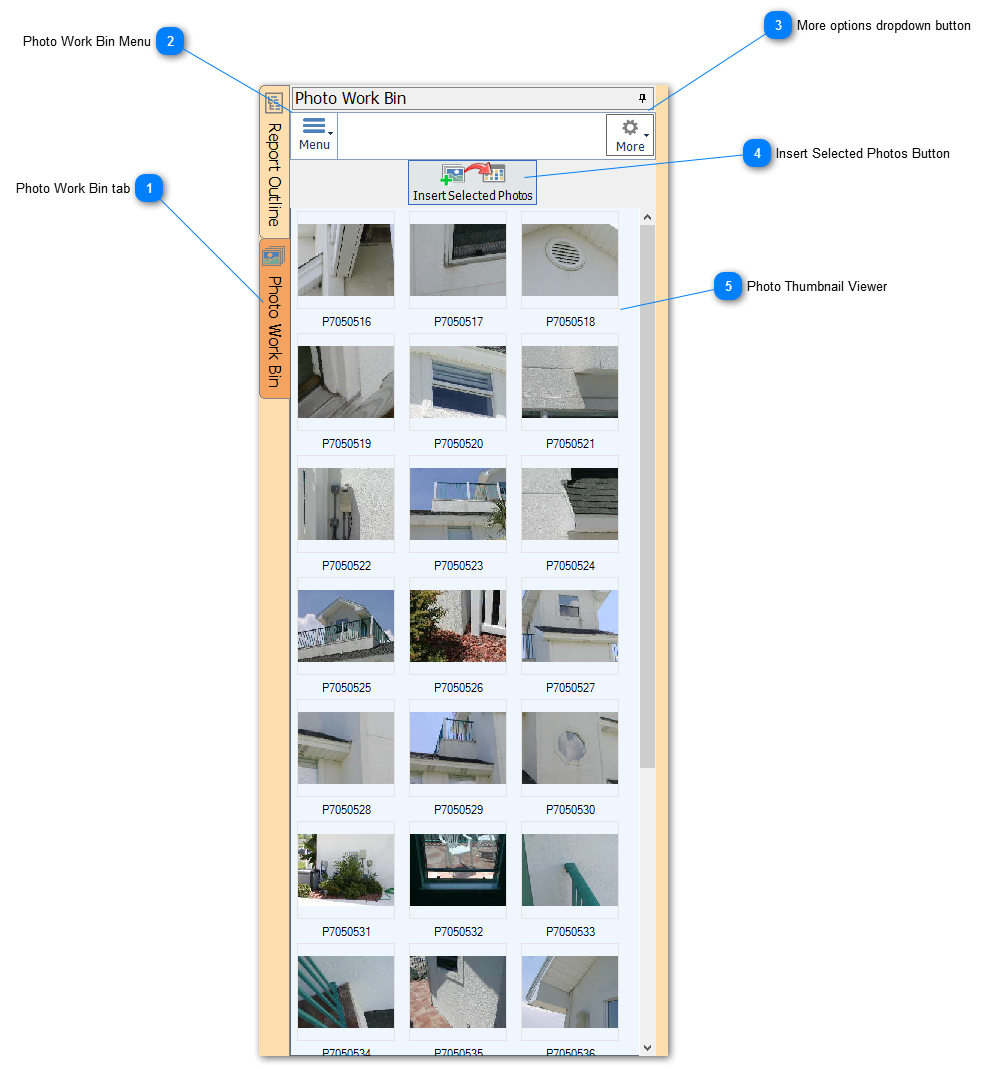
FastPhotoReports includes a 'Photo Work Bin' panel docked along the left edge of the main FastPhotoReports screen. The Photo Work Bin is a temporary holding bin for photos you may want to use in your report. You can insert photos into your report using several options available with the Photo Work Bin. This section will give you an overview of the photo bin panel buttons and options as shown below. See the next section for inserting photos into your report using the Photo Work Bin.
Photo Work Bin tab
The work bin tab is initially docked along the left edge of the main screen. The tab can be hidden or pinned using the Pin Icon highlighted in the red square shown below. You can also resize the panel by dragging the tan divider along the right edge of the panel indicated by the red arrow below. Find out more about tab options in the 'Docking Tab Panels' section of this reference guide.
Use the menu dropdown button for options to add photos to the Photo Work Bin panel with the following options
Add Photos to Photo Bin
Click this button to browse your computer to add photos to the Photo Work Bin. The file explorer browser will appear as shown below:
A range of multiple photos can be selected by click the 1st desired photo and then press shift + click the last photo.
You can also randomly select multiple photos by pressing and holding the cntrl key and click the desired photos.
After selecting the photos, click the Open button to add photos to the Photo Work Bin. This process can be repeated as many times as needed to add photos from several locations and folders on your pc.
Add Folder of Photos
Click this menu button to add an entire folder of photos to the Photo Work Bin. A browse folder dialog will appear. Browse to and click to select the desired folder and then click OK. NOTE: the images will not show while browsing the folders, just the folder names. This process can be repeated several times to add multiple folders of photos to the Photo Work Bin.
Add Camera Folder
Click this menu option to show photos from the photo store folder for the device (example full PC tablet such as MS Surface Pro)
Check this option to show the photos in the photo bin at a larger size
Deselect All Photos
Click to unselect ALL photos in the Photo Work Bin
Remove Checked Photos
Click to remove all Checked photos from the Photo Work Bin. Photos in the photo work bin can be checked by either right mouse click on the photo or by slightly tapping and swiping slightly to the right. Right mouse click again or tap and swipe again to uncheck a photo.
Clear Photo Work Bin
Click to remove ALL photos from the photo work bin
NOTE: Removing Checked photos or clearing the Photo Work Bin does NOT remove any photos from your report or your PC, just from the viewer in the Photo Work Bin.
Click this button to insert the selected photos into the selected photo section. Photos will be marked as used with a red check.
NOTE: FastPhotoReports ALWAYS makes a copy of your photos and does NOT use or alter the Original photo in any way. Any changes you make to the photos will just apply to the copy that FastPhotoReports has made for its use only.
For more information please see "Working With Photos" and 'Using the Photo Work Bin' sections of this guide.
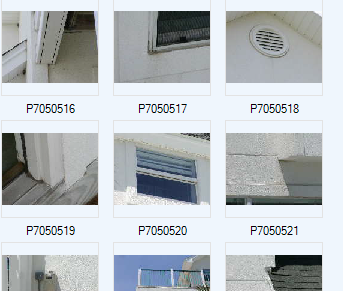
Photos are displayed in the thumbnail viewer section of the Photo Work Bin. You can drag the orange vertical divider at the right edge of the Photo Work Bin panel to adjust the number of columns of photos will be displayed.
You can insert any photo into your report by simply double clicking the photo in this viewer. The photo will be inserted after the currently selected photo.
You can Right Mouse click and hold for a few seconds and a Large Photo Preview will popup as show below. This can be helpful to see more detail before inserting photos into the report:
For more information please see "Working With Photos" and 'Using the Photo Work Bin' sections of this guide.
The bottom of the Thumbnail Browser will display the progress when loading a large number of photos. You can click on the stop sign to stop loading photos.